Flourishes, swashes, doodles, or swirls, whatever you want to call them, they’re beautiful! They are the cherry on top of a nice hand lettering. But how can you start using them if you don’t know where to add them? And when will the strokes feel natural instead of forced? I’ve been there, so I’d like to share with you my 7 easy tips to master flourishes! They helped me overcome the “timid pen syndrome” we all experience, and they can help you, too!
01. Fill a page of nonsense swirls.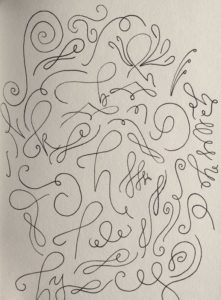
This is a great exercise to get your pen moving! It is so intimidating to add your first flourishes to a hand lettering piece that you worked hard at and love. So get out your first-time jitters using this method, and you’ll begin building confidence!
02. Let the lines play off of each other.
At first it feels like your lines feel a bit out of place, just random on the page. But as you keep filling the space, you’ll notice that your flourishes become more natural. Begin recognizing how the lines interact with each other.
03. Practice appending them to letters.
Mastering flourishes on their own is just as important as mastering flourishes that are attached to letters. Pick a few of your favorite letters to write and practice various ways to add append swashes to them. My current favorites to write are “h”, “y”, and the occasional “k”.
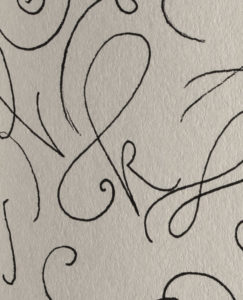 04. See the big picture, and not an individual line.
Start looking at your lines as an overall composition as you add them to the page. See how the lines can nest within each other, and how the swirls can begin to form interesting compositions on their own. You’ll be able to start imagining where each flourish could fit in with some words of their own.
05. Swoop the opposite way.
Yeah, how’d that one feel? Awkward? It’s like batting opposite-handed, or that whole “rubbing your belly while patting your head” thing. It’s unnatural. It takes brain power. But it opens up so many doors! This can help bring balance to your compositions, and it’s a life saver if you’re all about that symmetry.
06. Formal or playful? The flourish says it all.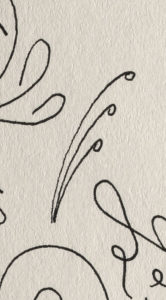
Just as with hand lettering, the size and pattern made with your flourishes can enhance the overall feel you’re trying to reach. If the quote or words are lighthearted and playful, use larger swoops and spiral-like techniques. If you wish to be more formal, use really long, elegant swoops that span the width of your composition.
07. Repeat lines to be graphical
Remember, these lines are not an afterthought. They can be added and totally intentional from the very beginning, so let them speak volumes! Sometimes, they are more powerful than the words themselves.
And there you have it! My 7 easy tips for mastering flourishes.
As with hand lettering, these take a little practice to get the hang of things. Try switching to using a pencil and embrace the ability to erase. Move those marks around drastically and then slightly until you understand where it is that they’d like to remain. If you find that you made so many changes that your composition is messy, take it as an opportunity to see how far you’ve already come! And if you want to continue that composition, try utilizing trace paper to transfer your design and keep working at perfecting it.
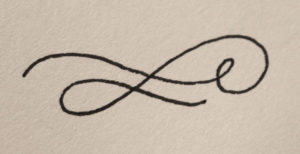
A mark I created on my own; one I’m very excited about.
The mark seen in this image is one I created myself. I didn’t copy this pattern. It came naturally to me after failing many times prior. Not only do I love drawing this flourish now, I’m proud of it because it came straight from my creative juices; not from memory nor from an example! Keep practicing and you will soon find your mark as well. 🙂
Find me on social media and share your flourishes! I’d love to see what you’re working on and any progress you’ve made on your hand lettering journey.
Which of the 7 easy tips for mastering flourishes is your favorite?
Related: Hand Lettering: 4 Key Observations from One Beginner to Another | Exploring the Art of Hand Lettering
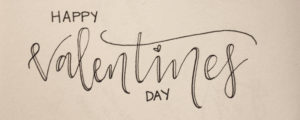
A flourished “T” for this special week!
